Contents
Setup Trinidad Project in JDev 11gR2
Download and Install JDeveloper 11g R2
* Download JDev 11gR2 from Oracle JDeveloper download site, e.g. jdevstudio11121install.exe.
* Double click the download file to install.
Setup User Libraries
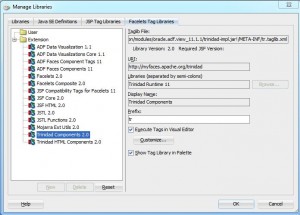
* JDev 11gR2 supports Trinidad 2 out-of-box. To see details:
– Click Tools > Manage Libraries
– Click Facelets Tag Libraries tab
Create JSF 2.0 Project
* Select File > New > General > Applications > Custom Application. Click OK.
* Enter:
– Application Name: jdev.jsf2.trinidad2.app1
– Application Package Prefix: jdev.jsf2.trinidad2.app1
* Click Next and enter:
– Project Name: jdev.jsf2.trinidad2.app1.proj1
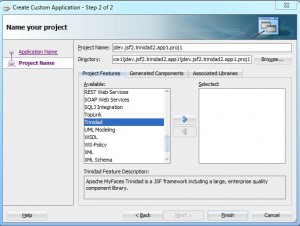
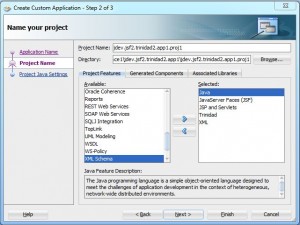
* Click Project Features. Select Trinidad on the Available panel and move to the Selected panel. Along with Trinidad, JAVA, JSP, JSP and Servlets, XML are also selected:
* Click Finish
Add Trinidad Tag Libraries to Project
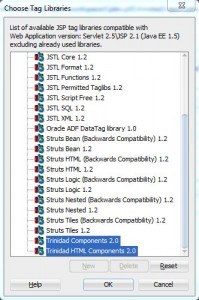
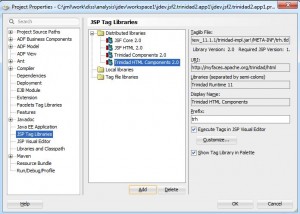
* Right click project and select Project Properties > JSP Tag Libraries
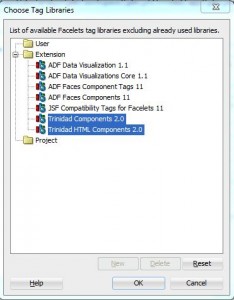
* Click Add button and select both Trinidad Components 2.0 and Trinidad HTML Components 2.0
* Click OK
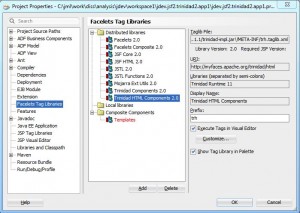
* Select Project Properties > Facelets Tag Libraries
* Click Add button and select both Trinidad Components 2.0 and Trinidad HTML Components 2.0
* Click OK
* Click OK
Configuration
* Configurations are similar to using Eclipse Indigo as JSF 2 IDE.
* See here for details
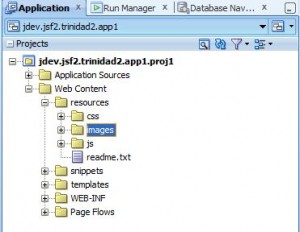
* Here is the web Content folder structure:
Example
* See here for configuration examples.
Deploy
Deploy to Integrated WebLogic Server
* Right click test page, e.g. page1.xhtml, and click Run
Example Source
* jdev.jsf2.trinidad2.app1.proj1

