Establish a DBAdapter Deployment Plan Directory
* Create a directory on the host machine where the deployment plan for the DbDapter application can be saved.
* This only needs to be done once.
* Example:
mkdir /opt/oracle/Middleware/home_11gr1/Oracle_SOA1/soa/DBPlan
Acquire Change Lock
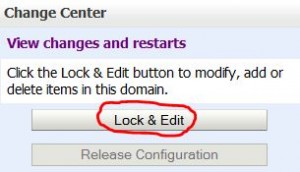
* Click Lock & Edit button in the Change Center pane.
Create a Data Source
* Follow this post to create a Data Source to point to your database.
* Example:
– Name: myDS
– JNDI Name: jdbc/myDS
Create an Outbound Connection Pool
* Click soa_domain > Deployments in Domain Structure pane.
* Click DBadapter in Summary of Deployments pane.
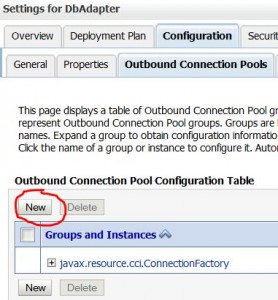
* Click Configuration -> Outbound Connection Pools tab.
* Click New button.
* Select javax.resource.cci.ConnectionFactory and click Next.
* Enter
JNDI Name: eis/DB/myDB
* Click Finish.
Assign Data Source to Connection Pool
* Click Configuration tab -> Outbound Connection Pools tab.
* Expand javax.resource.cci.ConnectionFactory.
* Click the newly created outbound connection pool, e.g eis/DB/myDB.
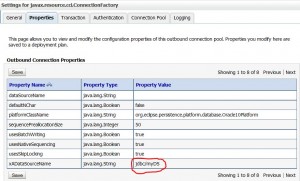
* Click Properties tab and enter
xADataSourceName: jdbc/myDS
* Hit Enter key.
* Click Save button.
Redeploy DbAdapter
* Click soa_domain > Deployments in Domain Structure pane.
* Click thecheckbox to select DBAdapter.
* Click Update button.
* Select Redeploy this application using the following deployment files
* Check deployment plan file is correct:
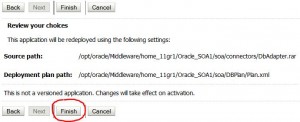
– Deployment plan path: /opt/oracle/Middleware/home_11gr1/Oracle_SOA1/soa/DBPlan/Plan.xml
* Click Next.
* Click Finish.
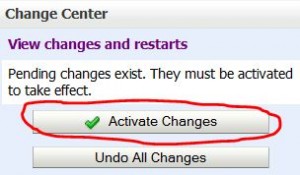
Activate Changes
* Click Activate Changes button in the Change Center pane.



hi
i want the clear steps to create, deploy, test and view output..can u help me
hi, what if my database is not XA ?
You should use the first field in Adapter properties tab, and name of the property is datasourceName and give your value there.
can you please provide ant script for this
?????? ??????, ?? ????? ?????????? ?????????.