Contents
Environment
* Solaris 10 u11
* VMware ESXi 5.1.0
* vSphere Client 5.1.0
Download Solaris 10 ISO Image
* Download Solaris 10 ISO image file, e.g. sol-10-u11-ga-x86-dvd.iso, from Solaris download site.
Create Guest Solaris 10 VM in ESXi 5.1
Upload Solaris ISO File to ESXi 5.1 Datastore
* See this post for details.
Create a Solaris 10 64 bit VM Named sol10x64vm1
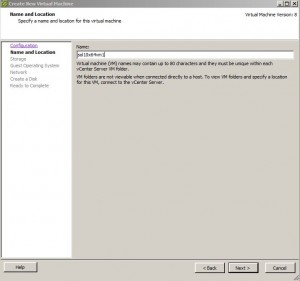
* Enter VM name:
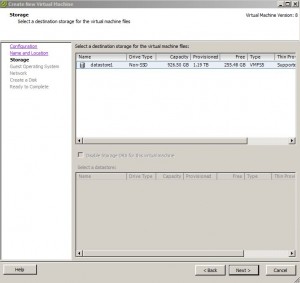
* Select storage:
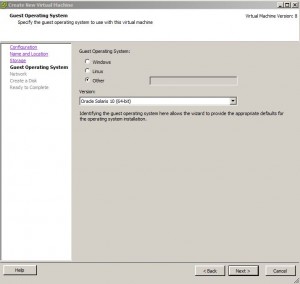
* Select OS type:
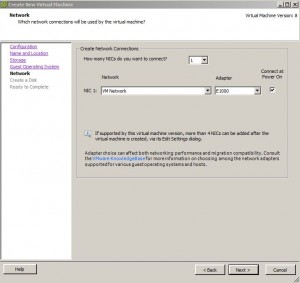
* Setup network:
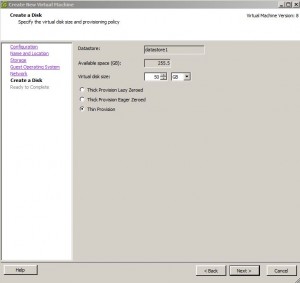
* Create a disk:
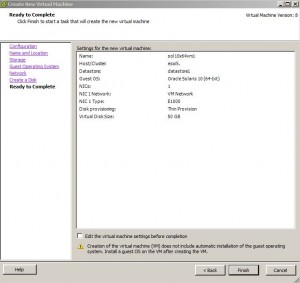
* Finish:
Mount CD/DVD
* Right click the newly created sol10x64vm1 VM, select Edit Settings…
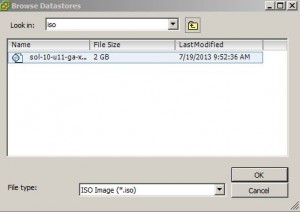
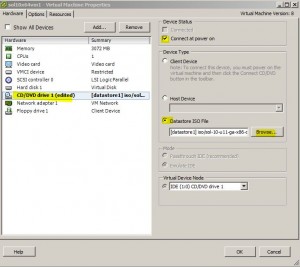
* Select CD/DVD drive 1 > Datastore ISO File and browse to the uploaded ISO file:
* Also select Connect at power on:
* Click OK and then power on sol10x64vm1
Install Solaris 10 OS
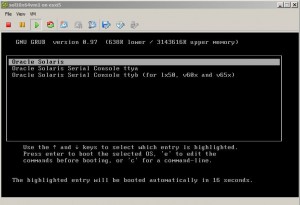
* On GNU GRUB menu, select Oracle Solaris
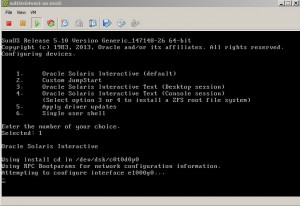
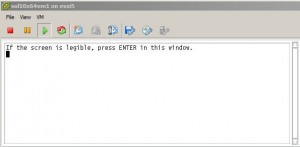
* Select CLI:
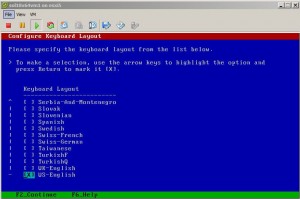
* Select keyboard:
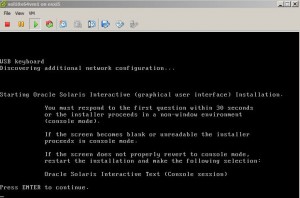
* Select install GUI:
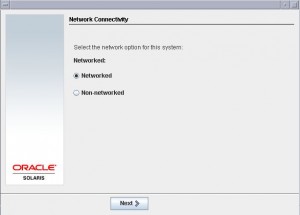
* Select Networked:
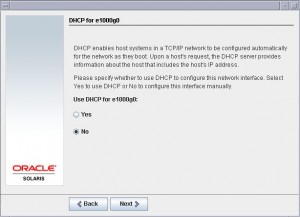
* Select No DHCP:
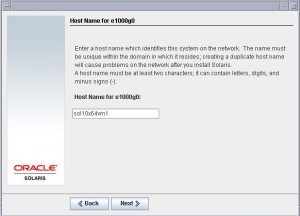
* Enter hostname:
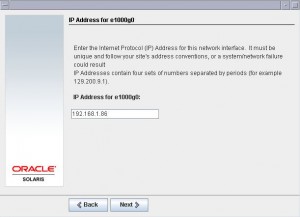
* Enter IP address:
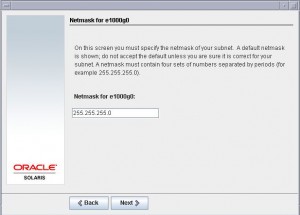
* Enter netmask:
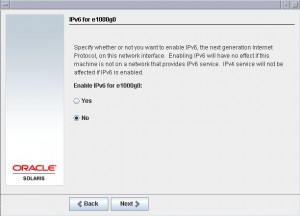
* Select No IPv6:
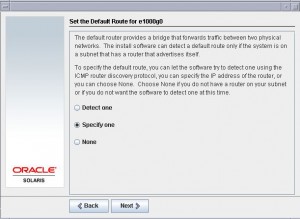
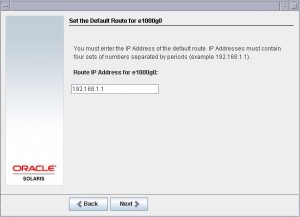
* Enter router IP:
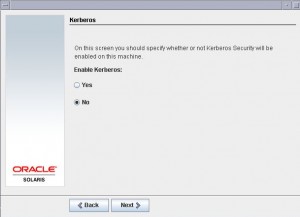
* Select No Kerberos 5:
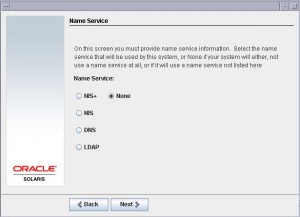
* Select No Naming Service:
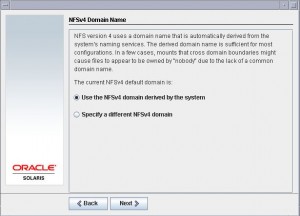
* Select NSFv4:
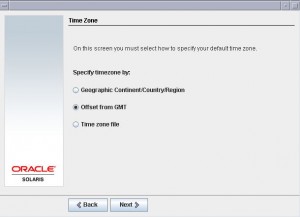
* Select time zone:
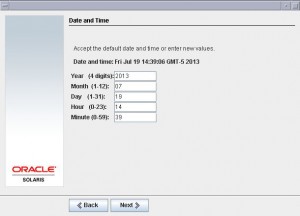
* Set date and time:
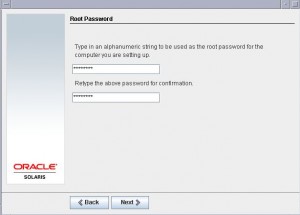
* Enter root password:
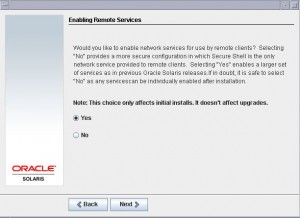
* Select Enable Remote Services:
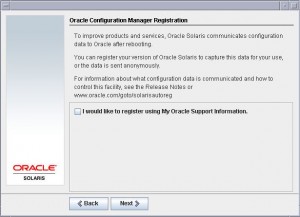
* No Registration for now:
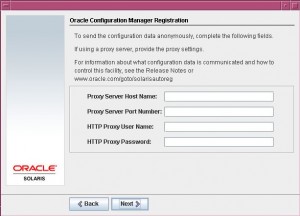
* No proxy:
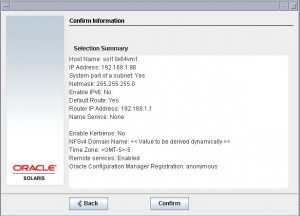
* Confirm:
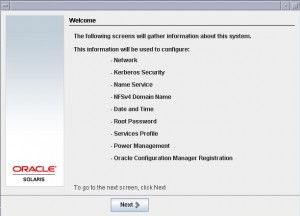
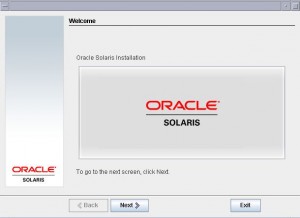
* Welcome screen:
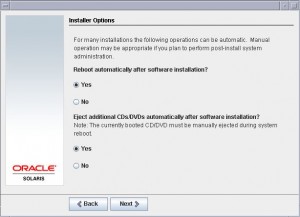
* Install options:
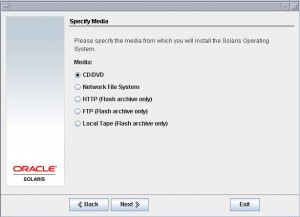
* Select install media:
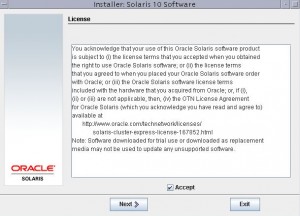
* Accept license:
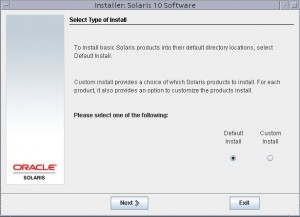
* Select default install:
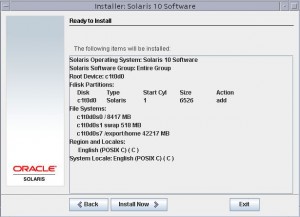
* Ready to install:
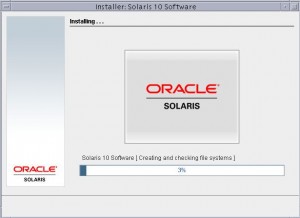
* Installing:
Login
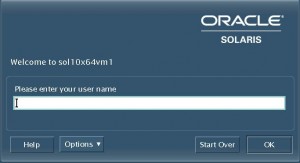
* Login as root:
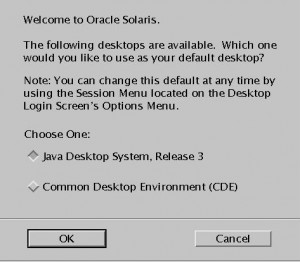
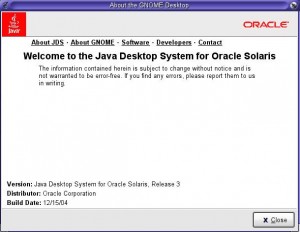
* Select Java Desktop System:
Install VMware Tools
* Make sure VM has been started.
* Select Inventory > Virtual Machine > Guest > Install VMware Tools
* Once downloaded:
cd /tmp
mkdir vmtools

cd vmtools
gunzip -c /cdrom/vmwaretools/file_name.tar.gz |tar xvf -

cd vmtools
./vmware-install.pl

# Accept all defaults
Configure Network
* Start VM
* Add NIC if missing. In this case e1000g0 is missing from ifconfig -a command. ifconfig e1000g0 plumb command enables e1000g0 to show in ifconfig -a command.
ifconfig -a

dladm show-dev

ifconfig e1000g0 plumb
ifconfig -a
lo0: flags=2001000849<UP,LOOPBACK,RUNNING,MULTICAST,IPv4,VIRTUAL> mtu 8232 index 1
        inet 127.0.0.1 netmask ff000000
e1000g0: flags=1000843<UP,BROADCAST,RUNNING,MULTICAST,IPv4> mtu 1500 index 2
        inet 192.168.1.86 netmask ffffff00 broadcast 192.168.1.255
        ether 0:c:29:3:da:f4
dladm show-dev
e1000g0         link: up        speed: 1000  Mbps       duplex: full
* Temporarily enable NIC, this won’t survive a reboot:
ifconfig e1000g0 192.168.1.86 netmask 255.255.255.0 broadcast + up* Permanently enable NIC:
cat /etc/nodename
sol10x64vm1

cat /etc/hostname.e1000g0
sol10x64vm1

cat /etc/inet/hosts
::1     localhost
127.0.0.1       localhost
192.168.1.86    sol10x64vm1     loghost

cat /etc/inet/ipnodes
::1     localhost
127.0.0.1       localhost
192.168.1.86    sol10x64vm1     loghost

cat /etc/defaultdomain
exchange.local

cat /etc/defaultrouter
192.168.1.1

cat /etc/netmasks
192.168.1.0     255.255.255.0

cat /etc/resolv.conf
domain exchange.local
nameserver 192.168.1.30

cat /etc/nsswitch.conf |grep dns
hosts: files dns
ipnodes: files dns
* Reboot:
shutdown -i6 -y -g0

# Shutdown
# shutdown -i5 -y -g0
References
* Chapter 5 Configuring TCP/IP Network Services and IPv4 Addressing (Tasks)
* Solaris 10 Static IP Network configuration guide

