Contents
Download Windows Server 2008 R2 VHD Image
* Download all three parts of Windows Server 2008 R2 Enterprise Edition x64 (Full Install) VHD from here:
– WS2008R2Fullx64Ent.part01.exe
– WS2008R2Fullx64Ent.part02.rar
– WS2008R2Fullx64Ent.part03.rar
* Double click WS2008R2Fullx64Ent.part01.exe to extract files into WS2008R2Fullx64Ent folder. The WS2008R2Fullx64Ent.vhd file will be in the WS2008R2Fullx64Ent\Virtual Hard Disks directory.
Convert VHD to VMDK
* Download winima85.zip from here.
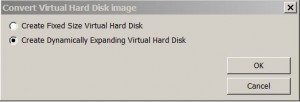
* Convert VHD to VMDK using WinImage 8.5 following this post. Make sure you choose Create Dynamically Expanding Virtual Hard Disk option. Otherwise, the resulting disk is too big (130 GB vs 6 GB) and not usable in my test run.
Create New VMware VM
* Start VMware Player 5
* Select Player > File > New Virtual Machine… or hit Ctr-N
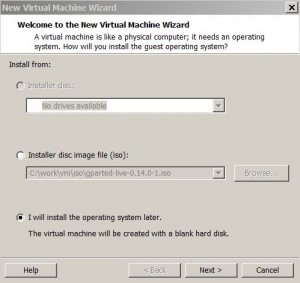
* Select I will install the operating system later and click Next.
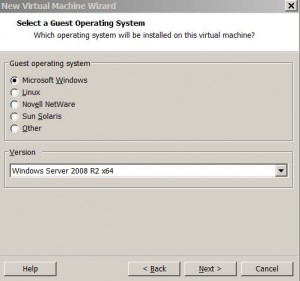
* Select Microsoft Windows and Windows Server 2008 R2 x64:
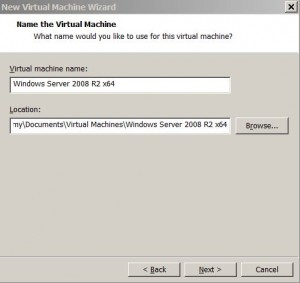
* Enter virtual machine name and location:
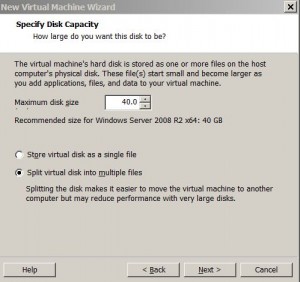
* Specify disk capacity:
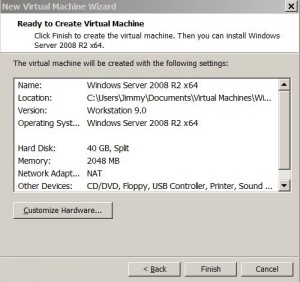
* Click Finish.
Attach Converted vmdk File to New VM
* Power off VM
* Select Edit virtual machine settings
* Remove existing hard disk by selecting Hardware > Hard Disk and click Rmove button.
* Attach converted hard disk by clicking Hardware > Add…
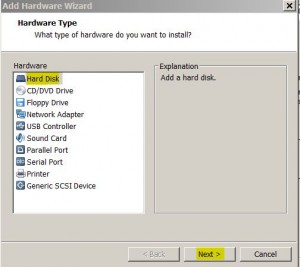
* Select Hard Disk
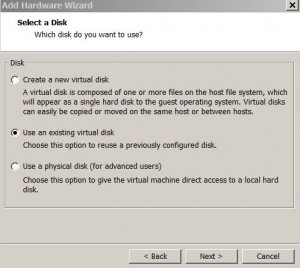
* Select Use an existing virtual disk
* Browse to converted WS2008R2Fullx64Ent.vmdk
* Click Finish
Setup Windows Server 2008 R2
* Start VM.
* Setup Windows Server 2008 R2 following the setup wizard.
* Change Administrator password to Welcome1 when prompted.
* Login as administrator and wait for the setup to finish.
* Shutdown VM.
Convert to ESXi 5 VM
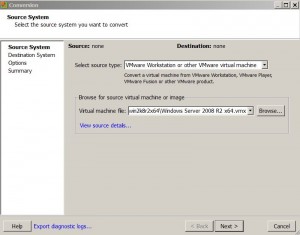
* Start VMware vCenter Converter Standalone
* Select source type and browse for source virtual machine:
* Continue conversion as usual.
sysprep
This needs to be done for each new instance of VM.
* Login as Local Administrator
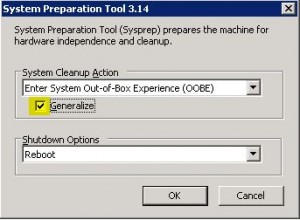
* sysprep the new VM:
C:\Windows\system32\sysprep\sysprep.exe

If you would like to convert only the virtual disk, not entire VM, you can also use qemu-img for Windows: it’s free, portable and it runs under CMD.
For example, to convert VHDX to VMDK:
qemu-img.exe convert FileSource-Image.vhdx -O vmdk FileDestination-Image.vmdk
Extracted from: http://www.sysadmit.com/2016/08/vmware-convertir-vhdx-en-vmdk.html